How it works
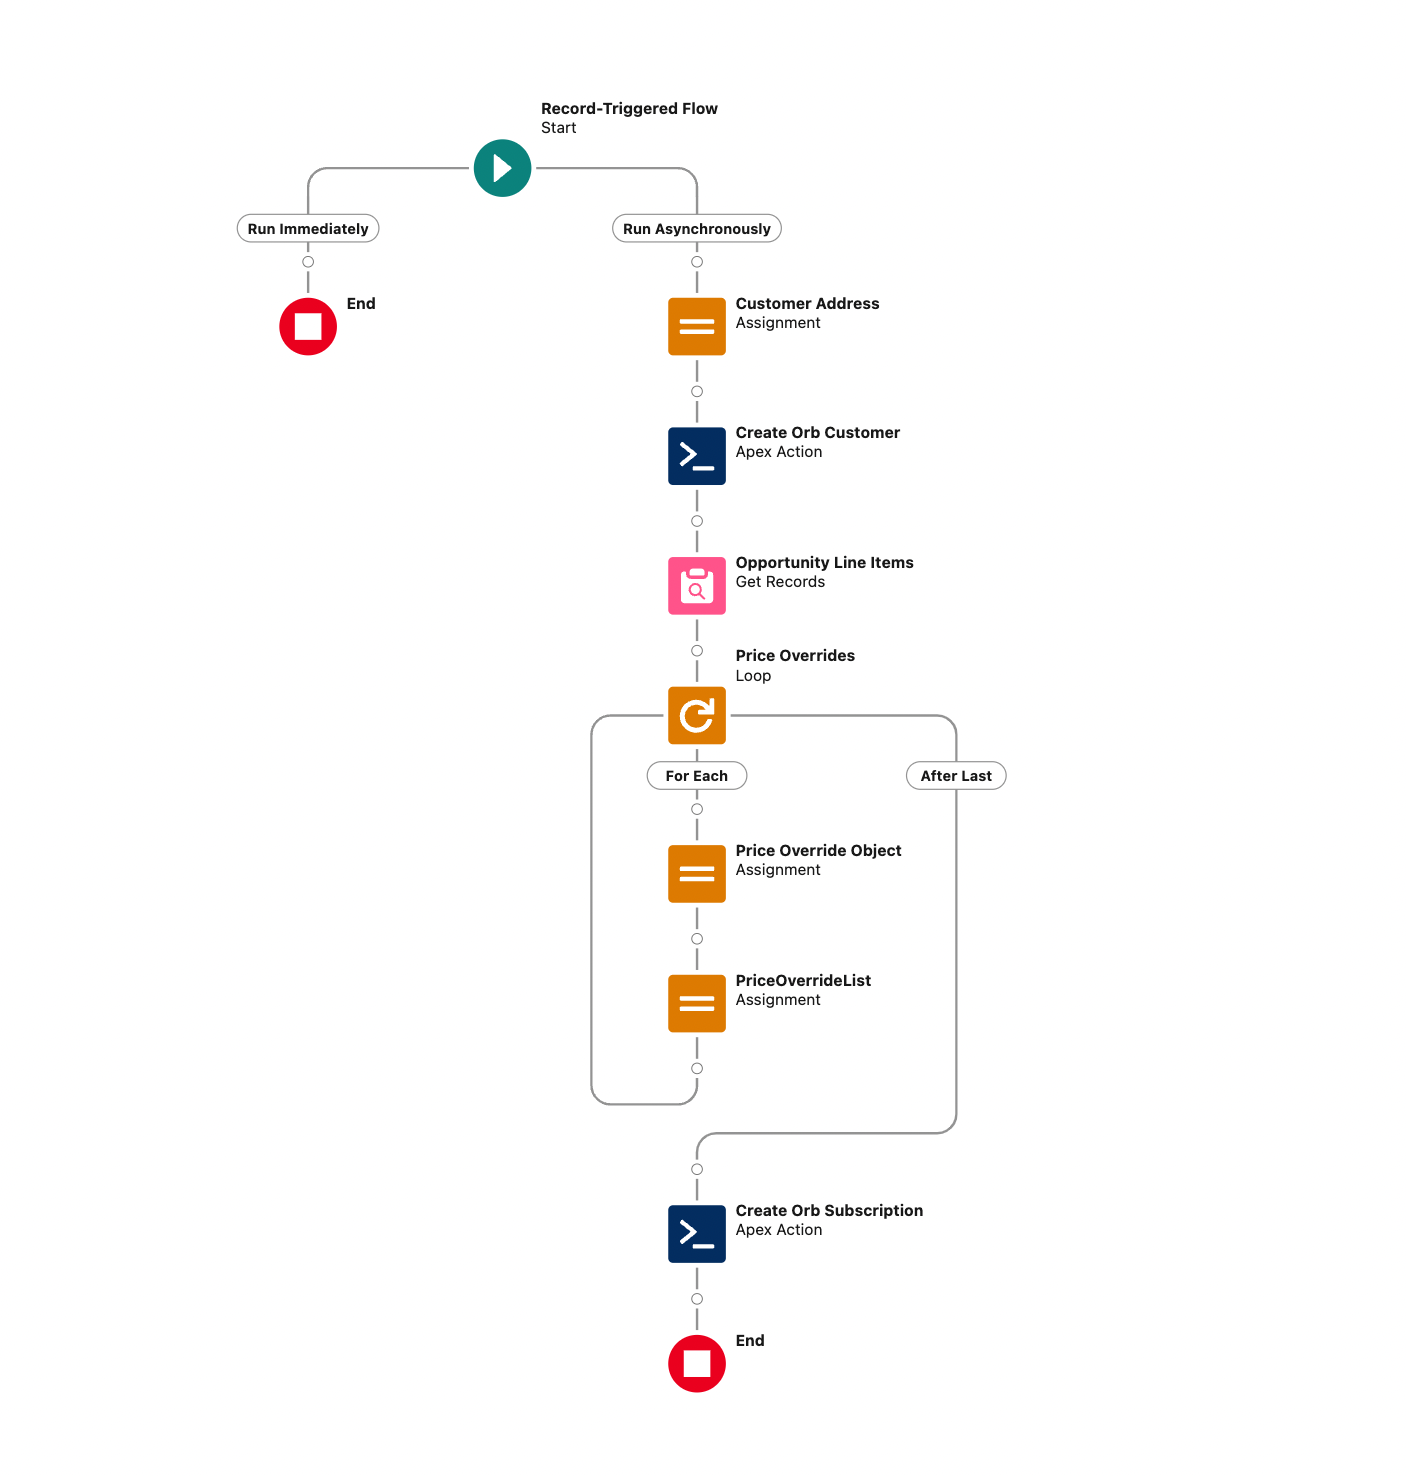
Orb’s Flow Actions integration automates provisioning from your Salesforce instance to your Orb account based on custom triggers and flows built into the SFDC flow-builder. The integration is installed via a Salesforce managed package and includes endpoints available within Orb’s API packaged as Apex actions. Each API endpoint is fully supported within the Apex action so that you can uniquely power your company’s workflows. Those actions can be triggered manually or upon standard SFDC triggers (e.g. “Opportunity moved to closed-won”). The Apex actions included have hybrid APIs that work directly in Flow Builder, but also work well when composed together in code. This is done by providing Apex action classes that are Flow Builder-compatible, but have a “raw JSON” input option when the builder UI is insufficient or cumbersome.Accessing the managed package
If the Salesforce integration is included in your plan, you can access the links to download the managed package within the Orb web application. Note: Only Orb Admins have access to the Salesforce links. If you’re not an Orb admin, reach out to the admin at your organization for support accessing the package links. To access the links:- Open the Orb web app (app.withorb.com)
- Navigate to settings
- Select the Integrations tab
- Scroll to the Salesforce section

Installation
Orb’s Salesforce application is distributed as a Salesforce Managed Package. Installation of the package should be done by a Salesforce Admin.-
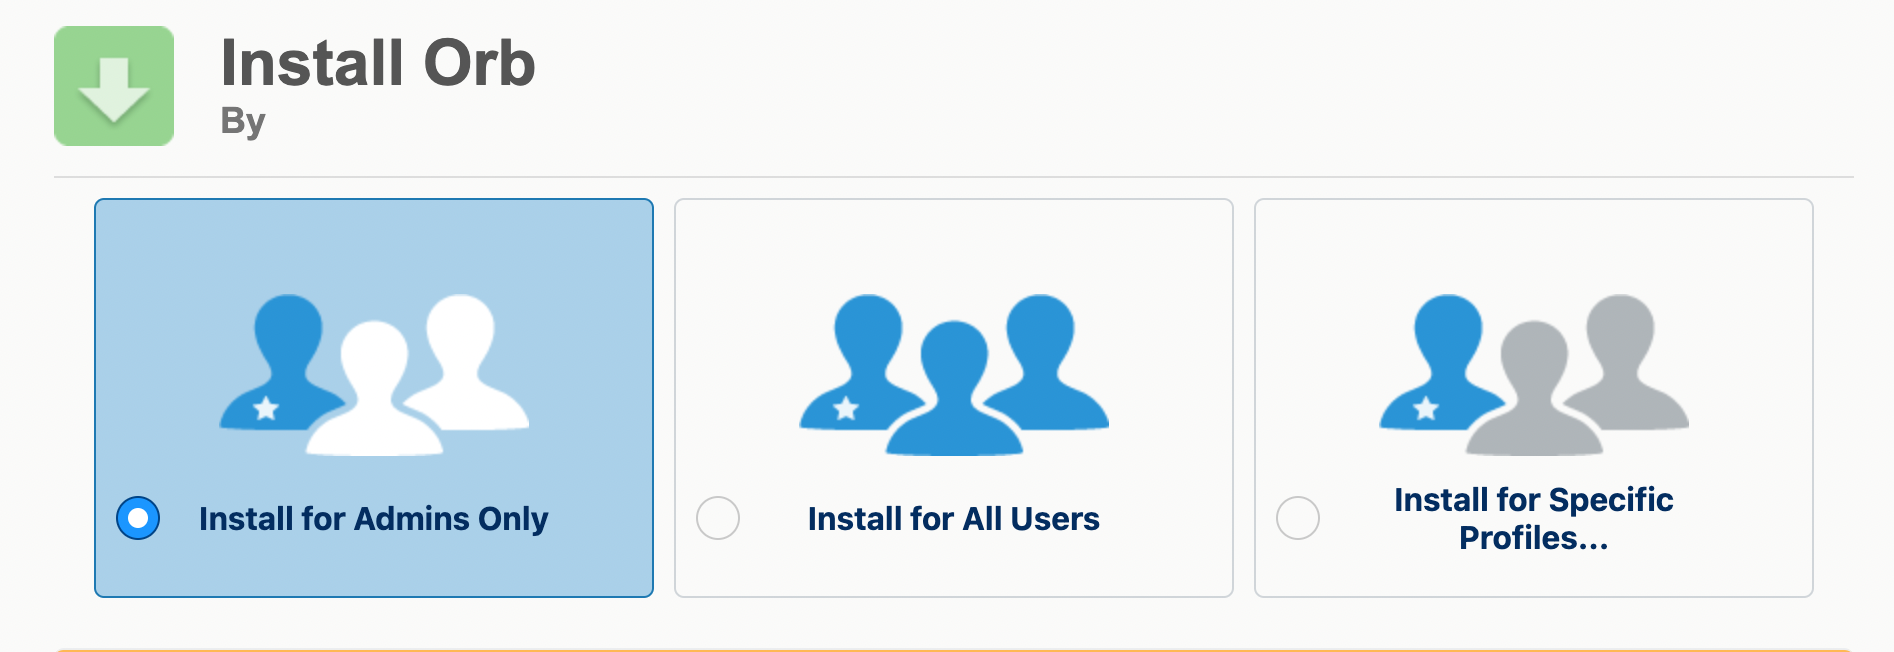
Navigate to the installation link provided, and click Install for Admins Only.
-
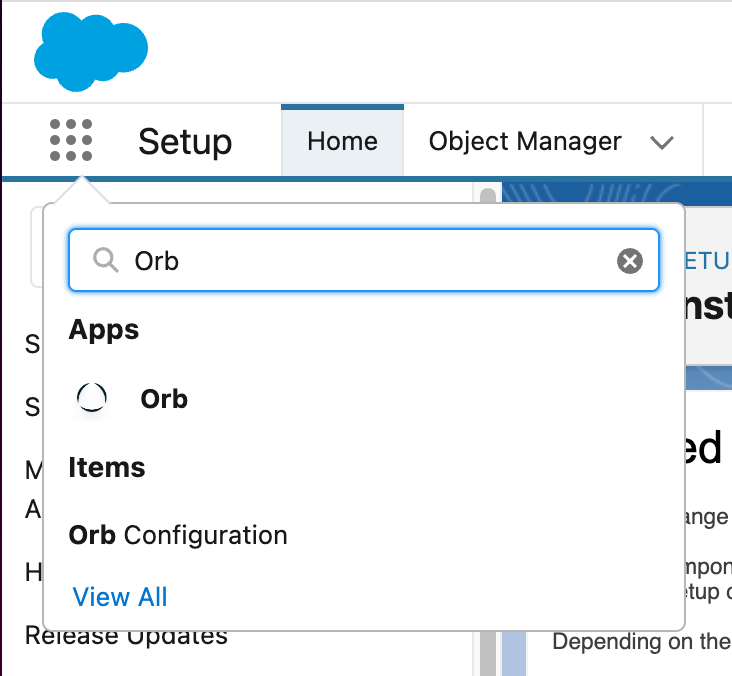
Once the package is installed, navigate to the App Launcher and search for the Orb app.
Configuration
On the configuration page for the Orb application, you’ll be asked to provide an API key. This is an Orb API Key that is used to make requests via Orb’s SFDC package to the Orb API. While any valid API Key for your account can be used, we recommend provisioning a specific Salesforce API key for this purpose and identifying it appropriately. To provision an Orb API key, visit the API Keys page in the Developers section of the Orb dashboard.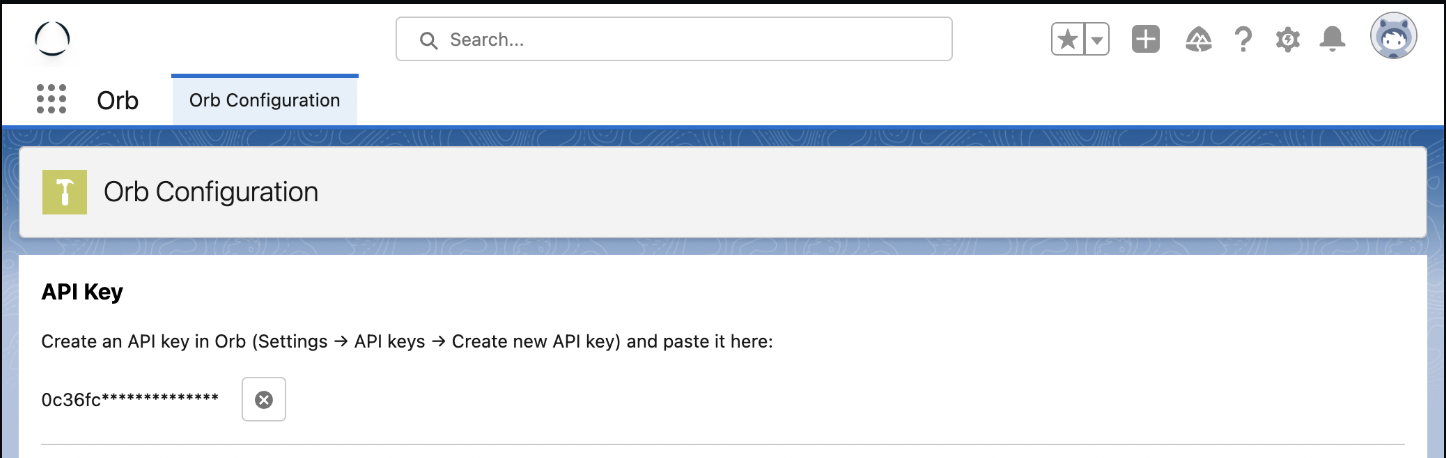
Use Cases
Setting up your first flow
High-level, the steps to automate creating a subscription and customer from an Opportunity are:-
Create a new record triggered Flow. Make sure to select the
Include a Run Asynchronously path...checkbox at the bottom when creating the Flow. This allows you to use the Orb actions. - Configure the flow to run when an Opportunity object is transitioned to the Closed/Won stage.
-
Under the
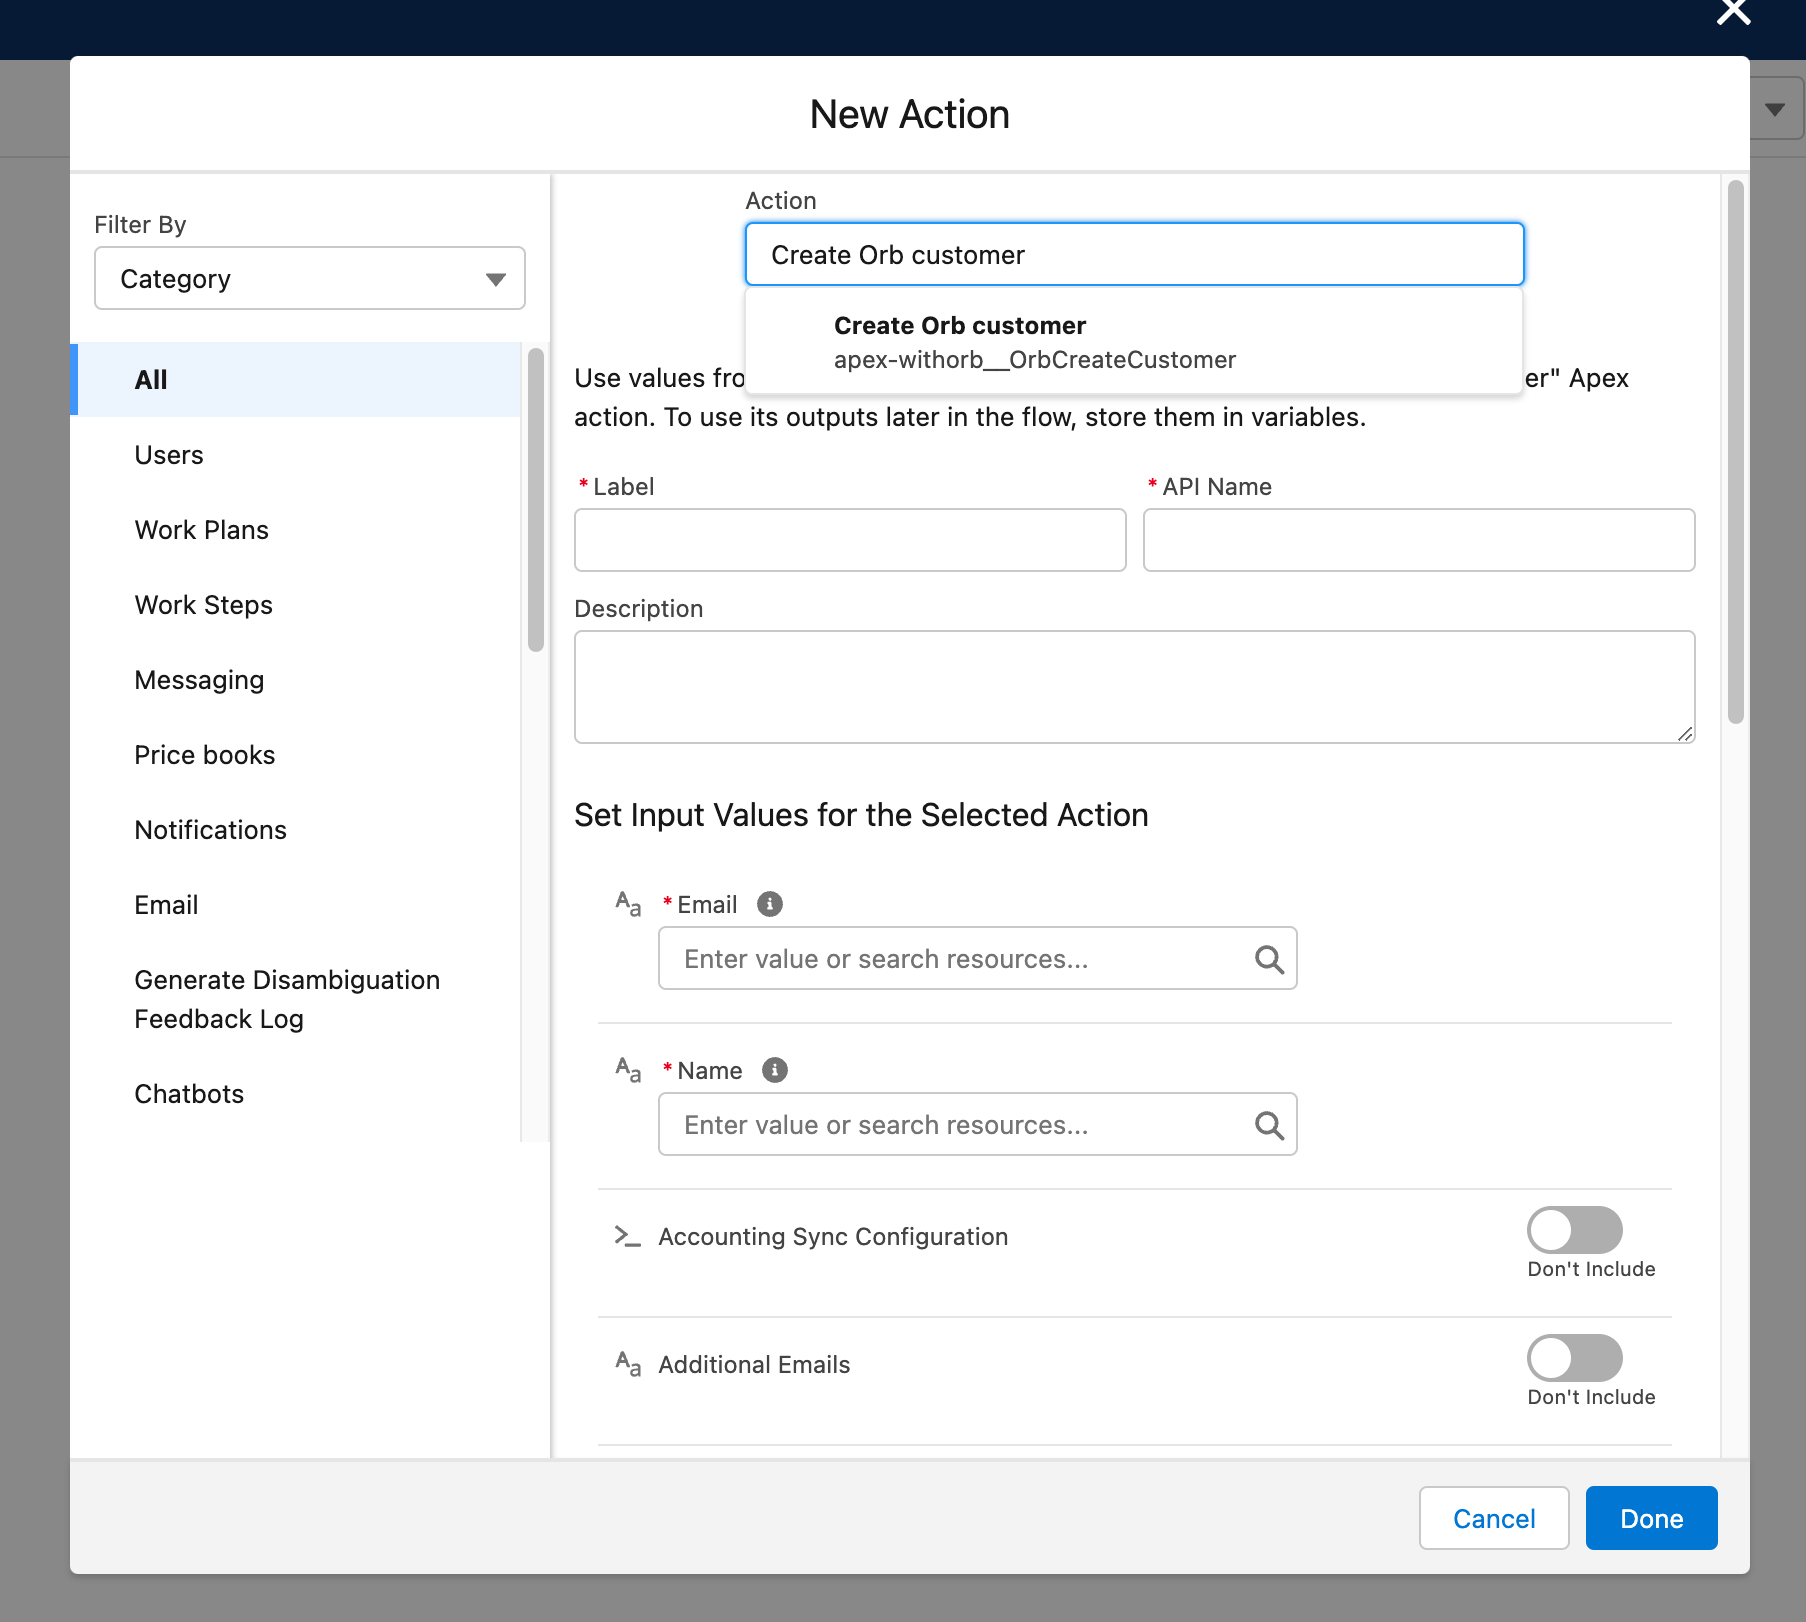
Run Asynchronouslypath, add an Action and search for theCreate Orb Customeraction
-
Fill in appropriate fields from the opportunity, account, and other built in or custom fields.
-
You can also create an Orb object by assigning a variable, to pass in more complex fields. For example, to create an
Addressvariable, create anAssignmentwith a data type ofApex-Defined. Search for thewithorb__OrbAddressInputApex class, and fill in fields as needed. -
You can use this variable as input to the
Create Orb Customeraction.
-
You can also create an Orb object by assigning a variable, to pass in more complex fields. For example, to create an
-
Next, add the
Create Orb Subscriptionaction. Similar to customer, fill in the appropriate fields.- To support custom pricing per customer, assign a variable of type
withorb__OrbPriceOverrideand fill in appropriate fields. This data is normally stored on the Opportunity Line Item.
- To support custom pricing per customer, assign a variable of type
- Save and activate the Flow. To test it, transition an opportunity to Closed/Won.